A step-by-step guide to starting a line item from scratch in Ad360 App for Shopify
A Line Item contains settings allowing Ad360 to know which audiences to target (e.g. focusing on specific geolocations) and which creative asset to show them.
1. Select your Campaign
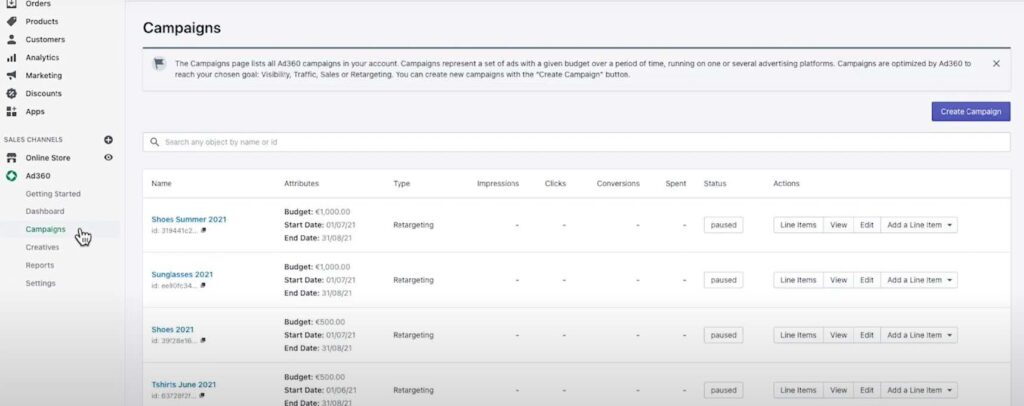
Firstly, you need to select the Campaign under which you want the line item to be created. To do this, go to the campaign section and you will see a list of your campaigns.
2. Add Line Item
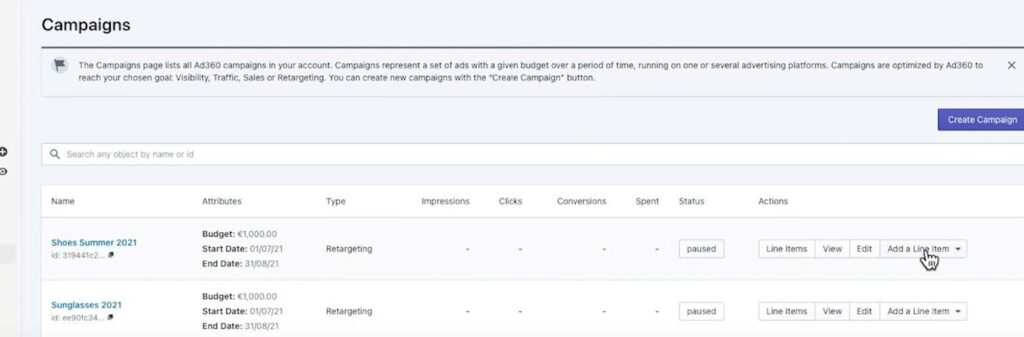
You can add a line item from the campaign page, or directly from the “Add a Line Item” button.
3. Select a Line Item type
If you click the “Add a Line Item” button you are given the following options: Menadex, Google Ads or Facebook.
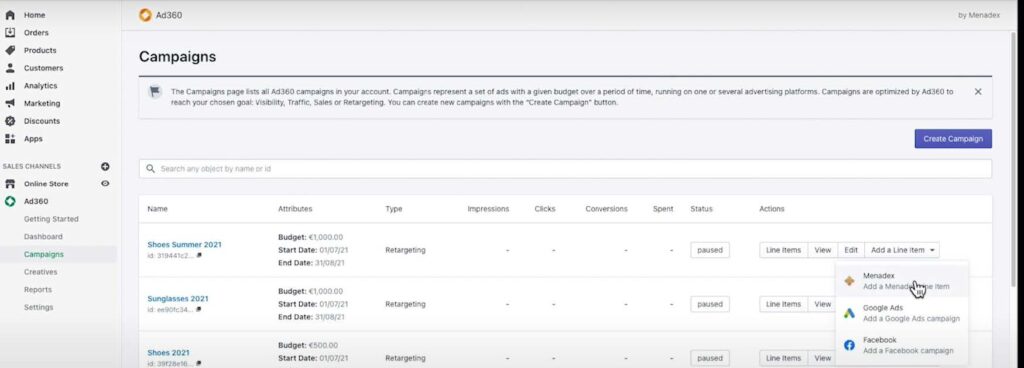
Google Ads and Facebook allow you to import into Ad360 advertising campaigns even if they run on the Google Ads or Facebook platforms, so that you can manage all your ads in one place.
Menadex is our own media offering, enabling your ads to run on millions of independent websites and mobile apps. More details below:
➔ Menadex line item option.
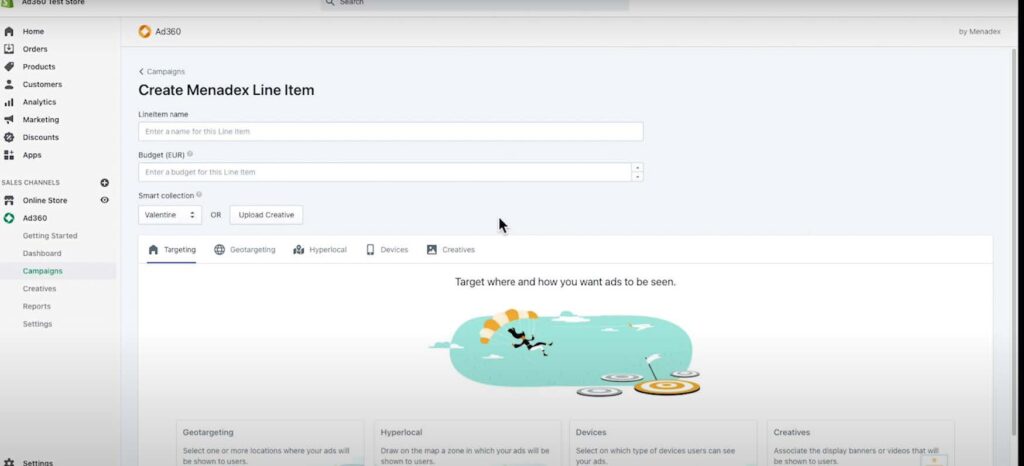
When you have clicked onto the “Menadex” option, you will be redirected to the Menadex line item creation page. Here you can add the name for your line item and enter a specific budget.
● You can choose a “Smart Collection” from your store to use for the line item.
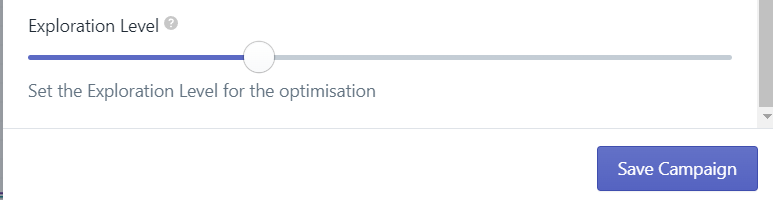
4. Choose an Option For Targeting
This determines where, and how many ads are going to be seen by users on theweb.
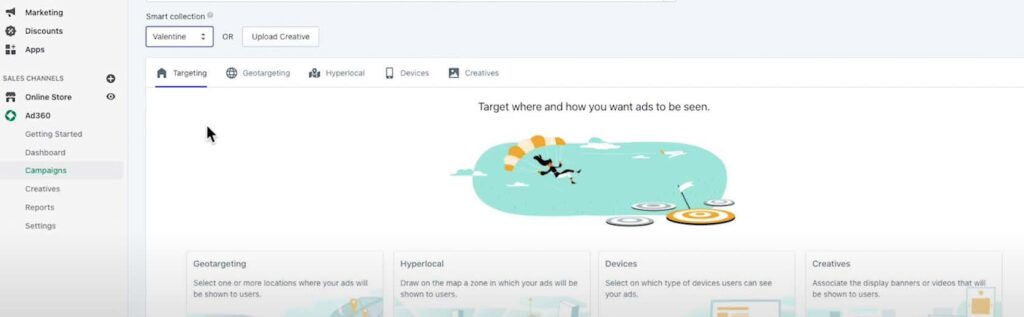
The different tabs can be accessed by clicking on the cards.
5. Option: Geotargeting
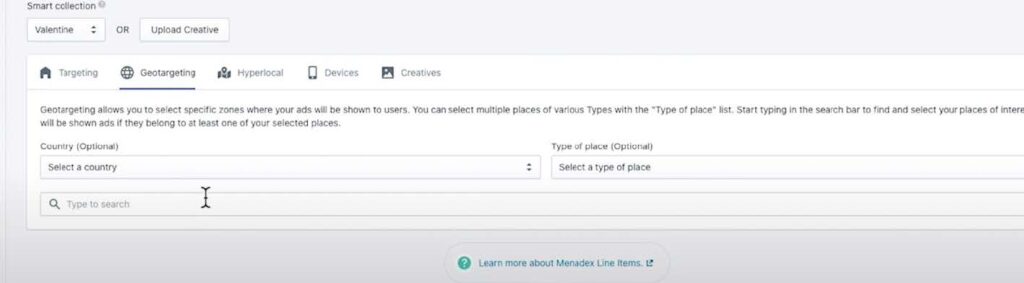
Geotargeting allows you to select specific places where your ads will be seen:
● You can select an entire country for example: the United Kingdom.
● You can also select specific cities for example: Berlin, Germany and Paris, France.
● Additionally, you can choose specific types of places, such as an airport, for example: JFK Airport. You can add as many places and types of places as you require for your ad to be displayed to web users.
6. Option: Hyperlocal Tab
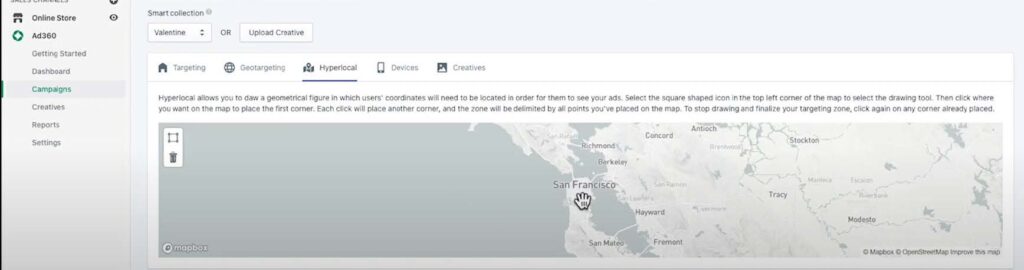
Secondly, you can add an area in the Hyperlocal tab, this will allow you to draw a specific zone on the map for your ad to be seen.
For example: San Francisco, over the Pacific Heights neighbourhood. – Your ads will only be seen in this area, and in the locations, you have selected in the Geotargeting tab.
7. Option: Devices
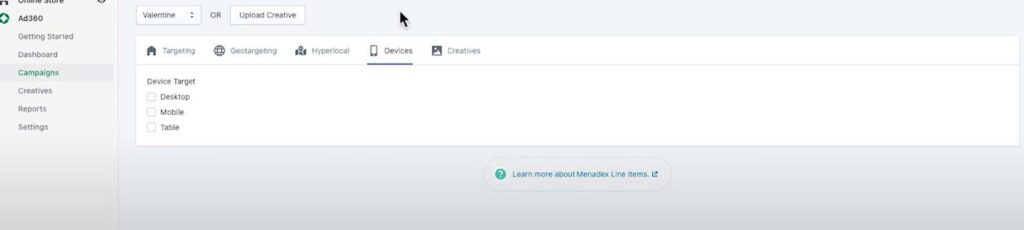
In Devices you can even select which devices your ad will be displayed on, by default, all devices are selected, however you can select only one or two if you prefer.
The options are: Desktop, Mobile, Tablet.
8. Option: Creatives

Finally, you can decide which ad banners or videos to show users: if you have creatives, you can upload them by using the “Upload Creative” button.
You can add standard banner display creatives, as per the IAB (Internet Advertising Bureau) specifications.
Choose a size in the list which matches your creative, or a video in one of the given aspect ratios.
If you already have creatives uploaded, you can associate them from your library, and you can link using the “Associate Creatives” button.
If you do not have any creative assets, don’t worry because you can create these in the Creatives Studio.